
Replacing your roof is one of the most important investments you can make for your home. Whether your current roof is nearing the end of its lifespan or has been damaged beyond repair, a full roof replacement ensures long-term protection, energy efficiency, and peace of mind.
It’s natural to feel a little uncertain if you’ve never gone through the process before. That’s why working with trusted professionals like Krech Exteriors makes a huge difference, they guide you through each phase with transparency and care.
So, what exactly happens during a full roof replacement? Here’s a step-by-step breakdown to help you understand what to expect.
Step 1: Initial Inspection and Estimate
Before anything begins, a roofing contractor will inspect your current roof to assess its condition and measure the surface area. They’ll identify any structural issues, ventilation concerns, or hidden damage. After the inspection, you’ll receive an estimate that includes the cost of materials, labor, and a projected timeline.
Step 2: Choosing Materials and Scheduling
Once you approve the quote, you’ll work with your contractor to choose roofing materials—such as asphalt shingles, metal panels, or tile, based on your budget, style, and local climate. After the materials are selected, the contractor will schedule the project.
Step 3: Preparing the Site
On the day of installation, the roofing team prepares your home by protecting landscaping, windows, and siding with tarps or plywood. A dumpster is usually brought in to collect old roofing debris. This stage is all about setting up a safe, clean work zone.
Step 4: Removing the Old Roof
Next comes the tear-off. The crew removes all old roofing materials down to the decking. This step is important because it allows them to inspect the underlying structure for rot, water damage, or mold. If any decking is compromised, it will be replaced.
Step 5: Installing Underlayment and Flashing
Once the decking is clear and solid, roofers install a water-resistant underlayment and flashing around chimneys, vents, and valleys to prevent leaks. This layer acts as a backup defense against moisture infiltration.
Once the decking is clear and solid, roofers install a water-resistant underlayment and flashing around chimneys, vents, and valleys to prevent leaks. This layer acts as a backup defense against moisture infiltration.
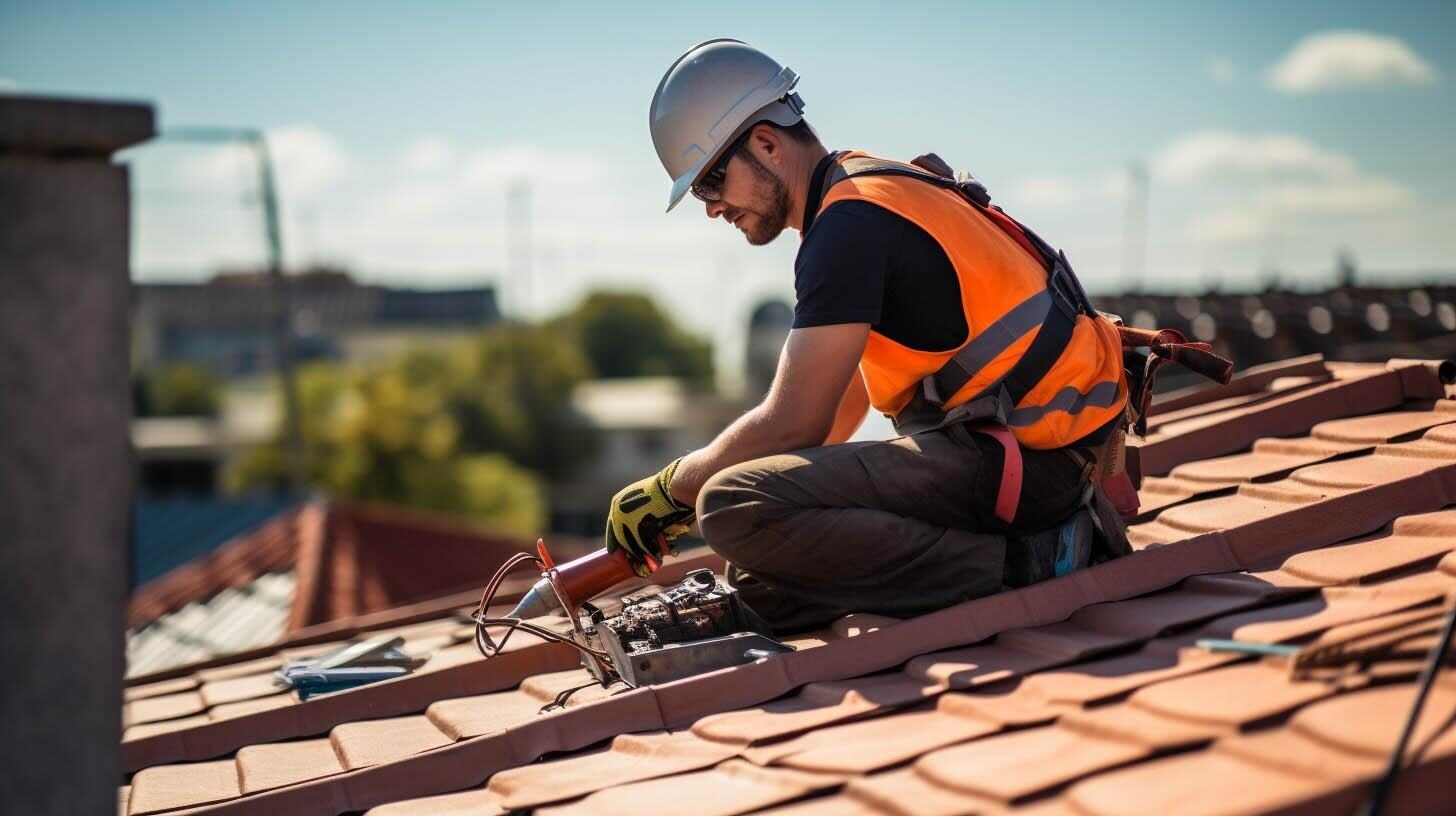
Step 6: Installing New Roofing Materials
Now comes the main event—the installation of your new roof. Depending on the material, this may take a day or several days. The crew installs each section carefully, ensuring proper alignment, sealing, and ventilation.
Step 7: Final Cleanup and Inspection
After the new roof is installed, the crew performs a thorough cleanup, removing all debris, nails, and equipment. A final inspection ensures everything meets local building codes and manufacturer standards. Your contractor will walk you through the finished product and answer any questions.
Key Takeaways:
- A full roof replacement includes inspection, removal, installation, and cleanup.
- Choosing the right materials and contractor ensures long-term performance.
- The process typically takes 1–3 days, depending on size and complexity.
- Underlayment and flashing are key to preventing future leaks.
- A final walkthrough ensures your satisfaction and code compliance.